Mouse Button Assignment
On the left of the toolbar, tools can be selected for the left and right mouse buttons explicitly. Each mouse button displays the name of the selected tool. By default, "Stack Scroll" is selected for the left mouse button and "Levels" is selected for the right mouse button.
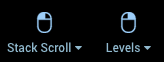
Image Navigation
The series thumbnails in the series panel on the left will show a highlight border around the series that are visible in the image tiles (viewports). Other series can be loaded into the image tile by dragging the series thumbnail to the image tile. Clicking on a series in the series preview will also load it into the active image tile.
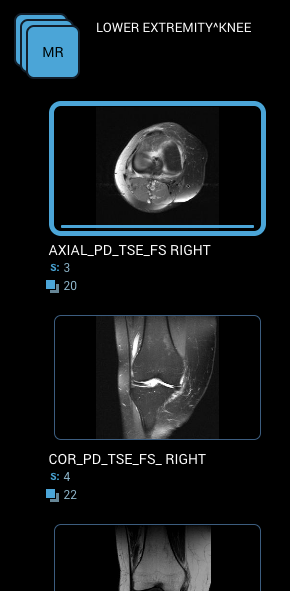
"Series" button can be used to toggle whether or not the series thumbnails are displayed on the left.

Images can be stacked/scrolled when the "Stack Scroll" button is selected by left-clicking and dragging the mouse up or down. If you are using a wheel mouse, the wheel function will also scroll the images. There is also a blue scroll bar on the right side that can be dragged to scroll the images.

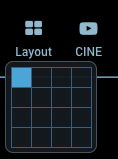
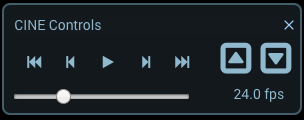
The "Cine" button will display the cine controls. Image navigation can also be done by using the "Previous" or "Next" buttons in the cine controls, and its control buttons will loop through the images of the active image tile. OnePacs Web Viewer can display sets of images in various image tile layouts using the "Layout" button. Click on the "Layout" button and select the number of image tiles that is desired.
"Cine" controls to increase/decrease the frame rate and navigate images.
The layout changed to show 4 series tiles. Scrolling shows reference lines in other tiles.

"Link" tool can be used to stack/scroll the series that are on the same plane simultaneously. Click the "Link" button to link the series, and scroll a related series, then click the button again to break the established link.

"Crosshairs" tool can be used to determine the position of the mouse location on other simultaneously displayed images. Left-click on the image and drag the mouse to use the tool in a layout with the related images.

"Ref. Lines" tool can be used to toggle reference lines displayed on images.
Image Manipulation
Users can zoom, window/level, and pan images. Left-click on the image and drag the mouse to use the tool.


Users can reset, rotate, and flip images horizontally/vertically.


"Invert" button can be used to invert the color palette of the image.

"ROI Window" button can be used to window/level images by region.

Image Measurement and Annotation
Users can measure length and angles, annotate images, and select various region of interest tools. Region of interest tools show area, mean, and standard deviation calculations. "Probe" tool shows various pixel measurements (xy, SP, MO, etc). "Magnify" tool magnifies the region where the mouse is left-clicked and dragged. The "Clear" button can be used to remove all annotations.


![]()
Reports and Documents
"View Report" button can be used to show the report if it exists.

"Documents" button can be used to show DICOM Structured Report (SR) and Encapsulated PDF documents.

Hanging Protocols and Stages
Users can create a hanging protocol to define how a study and the priors should be displayed. The "Hanging" button is used to display the hanging protocol editor. Constraints can be added to control what hanging protocols are applicable to what studies and what studies, series and images are applicable to what image tiles in the hanging protocol editor. Each hanging protocol can define several stages to incorporate a preferred layout. Stages can be quickly changed using the "Prev. Stage" and "Next Stage" buttons.


For better understanding of the hanging protocol editor, refer to Hanging Protocol Editor
Capture/Download Image
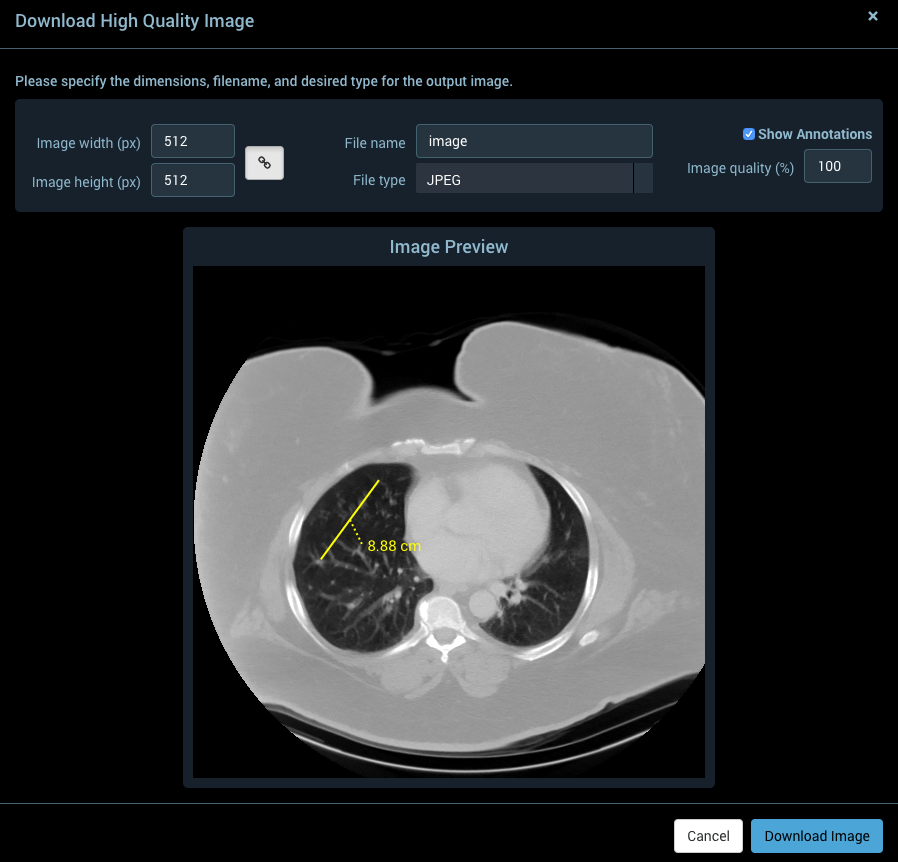
Users can capture and download images. "Download" button captures the selected image with its current state and annotation, and displays a dialog to download.

Image width/height in pixels, file name, file type (JPEG or PNG), image quality, and whether to include annotations can be set in the download dialog.
User Preferences
Users can change the default preferences, such as layout, keyboard shortcuts, etc., based on their needs. The user preferences are persisted even after the session is closed. The "Preferences" button is used to show the user preferences dialog.

For a better understanding of user preferences, refer to User Preferences.
Web Viewer 8 Tools and Features
Active Tool Mouse Indicator
The active tool mouse indicator has been replaced with the icon of the selected tool, replacing the default mouse pointer.

Spine Label Tool

The Spine Label Tool is an annotation feature that allows users to identify and label spine levels or segments effortlessly through a predefined context menu.

Cobb Angle Tool

The Cobb Angle Tool is a specialized measurement feature that allows users to draw lines and instantly calculate the Cobb angles at their intersections.

Multiplanar Reconstruction - MPR

The MPR Tool allows users to reformat tomographic image stacks into different planes, such as axial, coronal, and sagittal.

Multi-Monitor Support
The viewer shall be able to utilize multiple monitors and span the workspace across them. This feature is supported only in Chrome.
Permission to “Manage windows across all your displays” must be granted to enable this feature.

Create/Display DICOM Key Objects

Display key images from DICOM Key Object (KO) series that are shown with a thumbnail and key indicator in the series panel.

Hanging Protocol Enhancements
Additional Hanging Protocol attributes have been added to the rules configuration to enable more advanced Hanging Protocols.
