Configuring the OnePacs Gateway to route to multiple destinations based on rules
In certain situations it may be desirable to be able to forward cases from the gateway to multiple destinations based on rules. By default, the OnePacs Gateway only forwards studies to the OnePacs server. This is the recommended configuration. If your goal is to store a copy of studies to an SCP via DICOM and you have the ability to install the study retriever it may be simpler to create a user with a user access filter or give the user access to a shared folder to control what studies will be accessible and then setup the study retriever with that user configured on the local network of the SCP. The study retriever can then be setup to store to a destination using the destinations tab. If everything (Gateway, study retriever, additional SCP) is on the local network then the “Local gateway settings” should be enabled on the OnePacs Study Retriever
It is also possible to configure a gateway to forward studies to more than just the OnePacs server. This configuration can be performed by technically advanced users, or may be performed by the OnePacs support staff. For users with the requisite technical skill to perform this configuration, instructions follow.
Advanced configuration to support multiple forwards
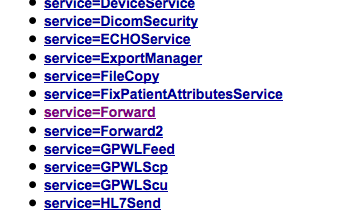
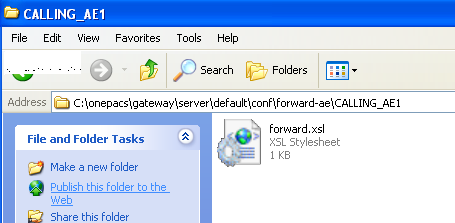
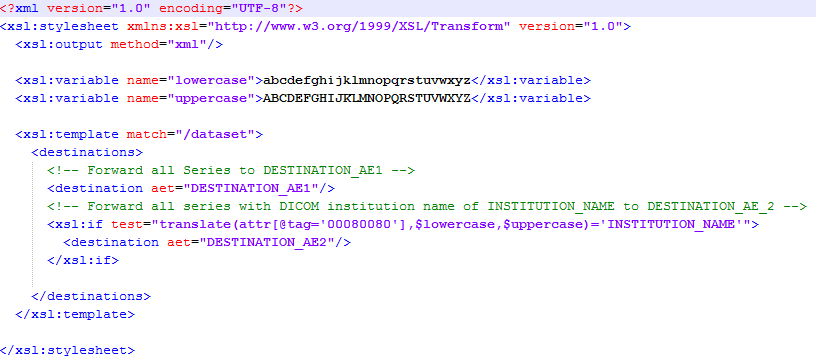
It is possible to modify the gateway installation to support forwards to multiple destinations. Follow the steps below to add an additional forward destination AE title to your OnePacs Gateway deployment:
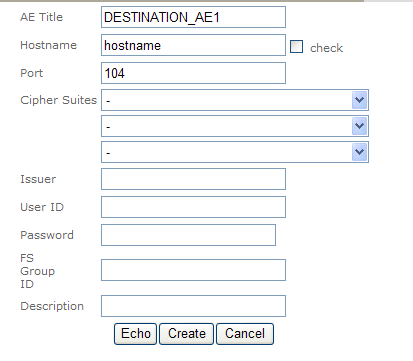
On the AE Management tab, create a new AE title definition for the additional forward destination. At a minimum you will need to enter the AE Title, HostName, and Port of your destination. You may press the echo button to ensure that the device is properly setup.
Press the create button.


some references:
http://davidsimic.com/2016/07/30/dcm4chee-pacs-synchronization-via-dicom-forwarding/
https://dcm4che.atlassian.net/wiki/spaces/ee2/pages/2556081/Forward+Service2


