Report templates (a.k.a. Report Letterhead) allows users with the "Manage report destinations and templates" permission to define the layout and appearance of diagnostic imaging reports, and to decide what information should be included in the reports. The report templates determine how reports will appear when displayed in a web browser, when transmitted by facsimile, or when saved as PDF or RTF. The predefined sample templates which are available on establishment of the OnePacs accounts are useful examples of general template structure. The sample templates contain the most commonly desired information in the report header section and include four key images.
Templates can be edited through the Report Templates option in the Admin menu. Select the Admin menu, then select Report Templates. There are two types of templates: those which are available for all facilities within your OnePacs accounts, and those which are only applicable for specific facilities.
To create or edit templates, select the “Templates” tab. To select which templates will be used for particular facilities use the “Facility templates Configuration” tab.
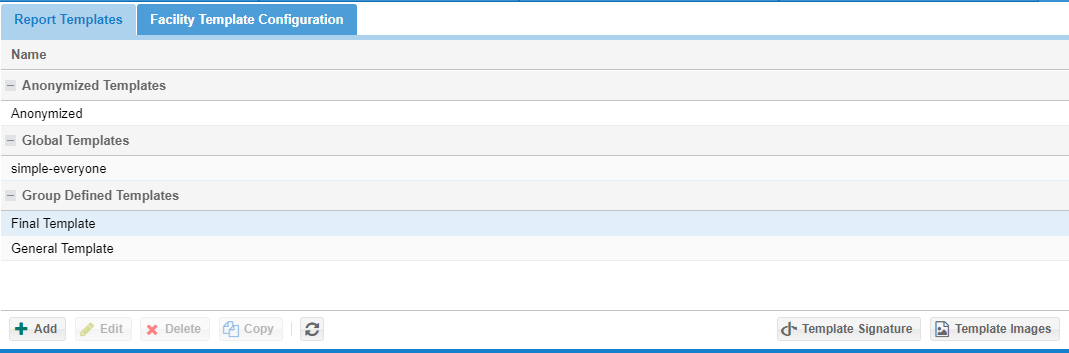
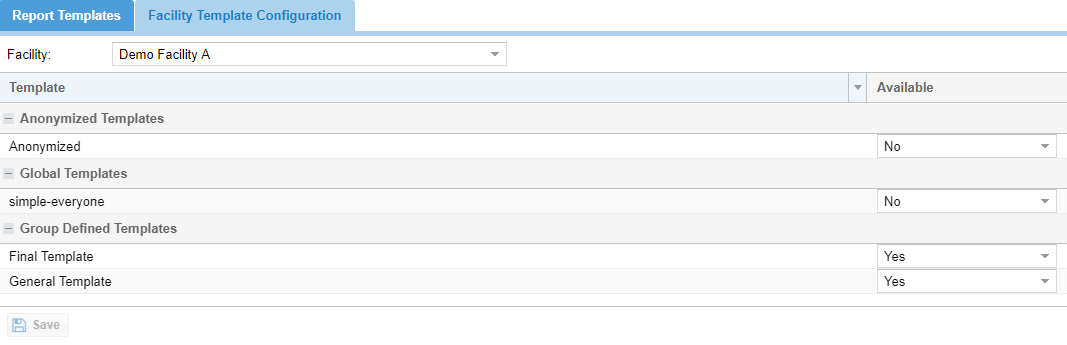
The second tab, “Facility template configuration”, determines which templates will be available for each facility. First, select a facility and then click on the yes and no to modify whether the report template is available for the selected facility. The default templates are configured under the facility settings.
Managing report templates
A user can add, edit, delete or copy a report template. When editing a report template the user is shown various tools to structure a report. Tables can be used to space and organize the data. Fonts can be modified to customize the look of the report. Various "OnePacs Tokens" can be selected to customize what data will be displayed on the report. A header, footer, and page numbers can be configured for faxes and reports that are exported to PDF/RTF. A draft icon can appear on the background for unfinalized reports in the draft state.
The "OnePacs Tokens" will be replaced with the data from the case that was reported. Key images can be selected as a placeholder that will be replaced by images that are selected as key images of the study. For example, the $REPORT_BODY token will be replaced by the report text for the case when a report is entered. Besides the list of available tokens, one can include information in the report template from the DICOM header by using the DICOM group and element values in the format: $(xxxx,yyyy). For example, to include the "Requesting Physician" from the DICOM header in a report template one would use. $(0032,1032) Tag information can be found by right clicking on a case on the worklist, selecting "Tools" and then "View DICOM header"

Images (Imaging facility logos)
Images can be uploaded for use within templates. In order to upload an image click on the button labeled “Template Images” on the templates tab. This will open a file explorer that enables file management.
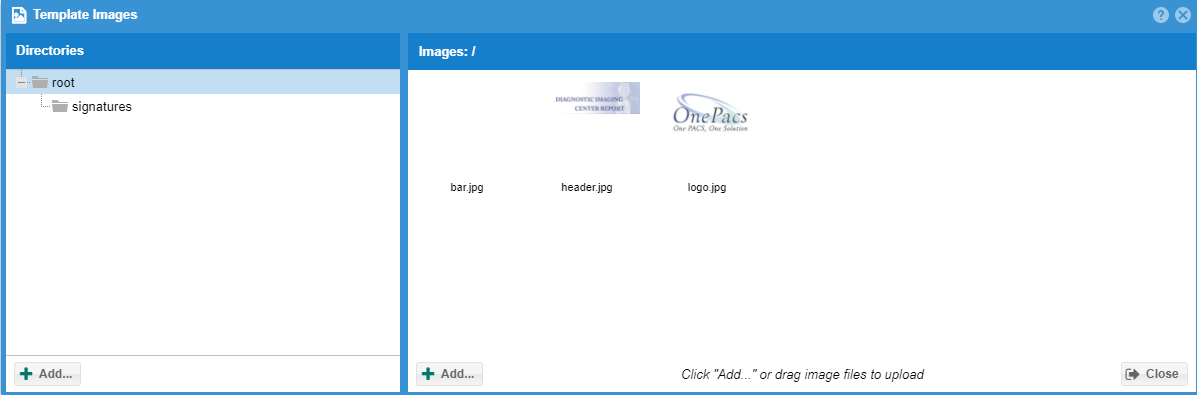
From this window you can right click on folder or files to manage them. Click the add button on the folders panel to add a new folder. Click the “Add” button on the images panel to show a local file explorer and allow a file to be uploaded. The image file name should not contain spaces. If the template image manager is launched from the report template page, you may double click an image to insert it into the report template.
Key images
Key images, as selected for a given study from within the OnePacs Diagnostic Workstation, may be inserted into reports by selecting a key image placeholder from the key images dropdown menu:
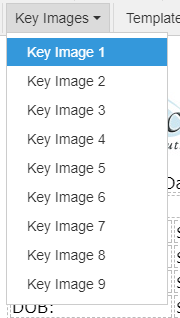
Key images are represented in the report template by a standardized placeholder image (which happens to be an image of an axial CT through the chest). In actual reports, these placeholder images will be replaced by the actual selected key image(s) for the case in question. (If no key images exist for the case, the key image placeholders in the report template will be ignored and nothing will display in their place.)
The following screenshot demonstrates two key image placeholders within a report template:
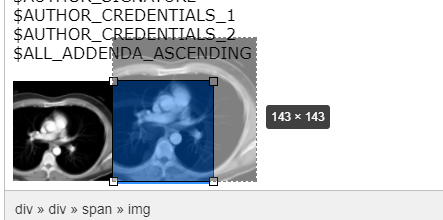
The key images will display at whatever size/magnification desired. The following screenshot demonstrates manual adjustment of the size of the one of the two key image placeholders. In reports using this template, the key image(s) will display at the actual sizes configured in the report template:
Conditional Content
Conditional content can be inserted into a report template. This may be beneficial to keep a report template consistent but to change certain parts as needed. For example, users may want to control how a preliminary report looks versus a final report. It may also be used to add a PQRS statements to certain reports. To insert conditional content, click the insert conditional content button. A new window will display.
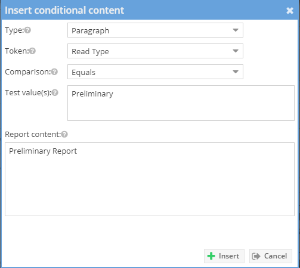
Click the "Insert" button to insert the content into the report template. Conditional statements are highlighted in green and will show their rule when the mouse is over the content.
