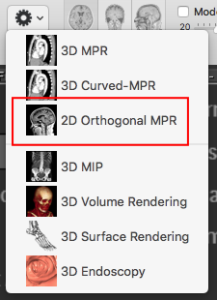
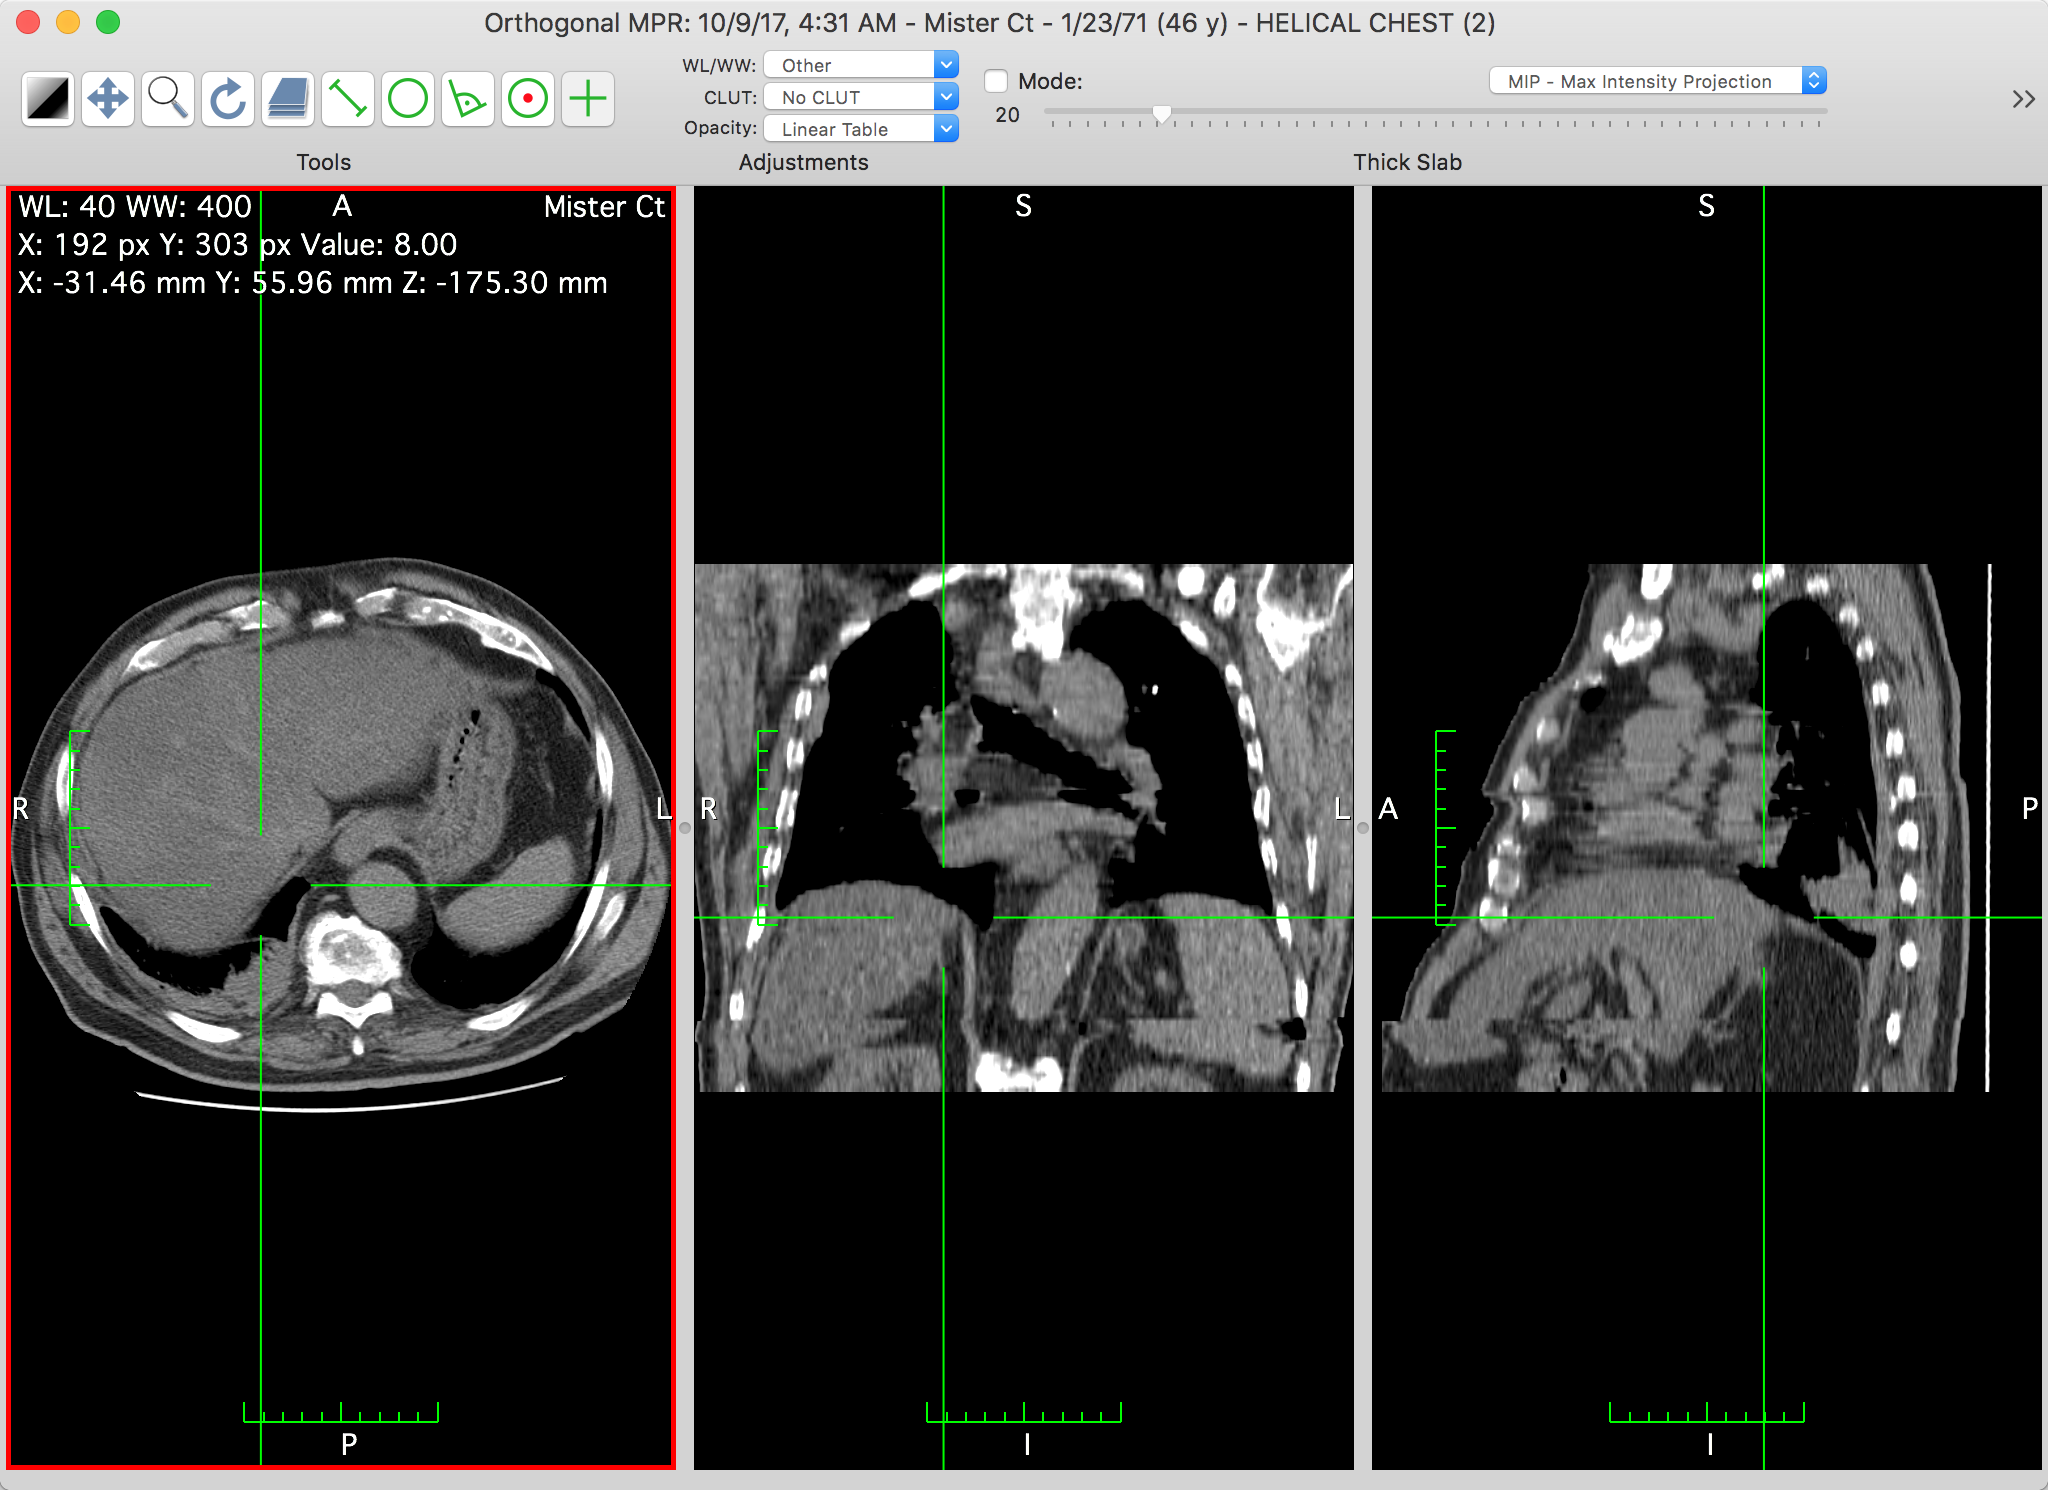
The 2D orthogonal multi-planar reconstruction viewer allows you to navigate a dataset by re-slicing it orthogonally, while allowing the usage of other standard tools like zooming, panning and quantification. The displayed slices are perpendicular to each other. Their orientation is fixed and depends on the original dataset.

Graphical User Interface
The crosslines represent the intersections between the views. You can navigate the volume by repositioning the intersection point in each view: to do so, simply click at the desired new intersection point while using the pointer tool, which is the default mouse interaction tool.
The Toolbar
The viewer toolbar provides access to tools and functions that interact with the displayed dataset or with the viewer interface.
This toolbar can be customized just like the database window toolbar, but with other available items, which are reviewed in this section.
 Tools
Tools
You can use this item to choose the mouse interaction effect for the left mouse button. By clicking on one of these buttons, you select the corresponding tool.
The following tools are available: WL/WW, Pan, Zoom, Rotate, Scroll, Length, Oval, Angle and Pointer.
 Adjustments
Through this item you define how to display the slice data. You may adjust the used WL/WW, CLUT and opacity table: just like in the 2D viewer, the presented pop-up buttons list the available presets.
Thick Slab
You can use this item to redefine the thickness of the rendered slices, and their rendering mode. The thickness is defined in millimeters, displayed in the lower left field. It can be adjusted using the lower right slider.
The available rendering modes are the following: maximum intensity projection, minimum intensity projection and mean intensity projection.
This item is only available when fusion is disabled.
Flip Volume
This button flips the volume data at memory level.
This item is only available when fusion is disabled.
Fusion
This item allows you to adjust the way a fused dataset is displayed on top of the base dataset.
This item is only available when fusion is enabled.
4D Player
This item allows you to browse the displayed dataset in the fourth dimension, normally time. It also allows you to toggle the animation in this dimension, and its frame rate.
Reset
This button allows you to reset the display adjustments to the their initial state.
Export
This button allows you to store the current reconstruction as a new DICOM series. A dedicated interface is displayed so you can set several options for the dataset creation: a series name, the format, what MPR views to export, what range to export and more.
Email
This button captures the image displayed in the active view and attaches it to a newly created email message in the Mail app.
3D Pos
This item allows you to manually register the fused series to the main series.
It is only available when fusion is enabled.
3D Panel
This button displays a floating panel with a basic 3D volume rendering reconstruction.
Sync
This item allows distinct Orthogonal MPR viewers to synchronize their focus point.
It can be used as a simple button to toggle this function, but additional options are available in the pop-up menu that is available if you hold down the mouse button or click on the small down-pointing arrow.
Same Widths
This button rearranges the content views so the horizontal space is evenly distributed.
Same Heights
This button rearranges the content views so the vertical space is evenly distributed.
Space and Flexible Space
The system-defined space and flexible space items allow you to separate the toolbar items in groups.
