The OnePacs Diagnostic Workstation (OPW) is a full featured DICOM study viewer that is packaged with the OnePacs system. The following guide describes the tools available in the application.
OnePacs Diagnostic Workstation offers a full set of the tools commonly used in viewing and manipulating DICOM images.
Tools available for use include:
![]() The pan tool, for adjusting the display position of the current image set on the screen
The pan tool, for adjusting the display position of the current image set on the screen
![]() The zoom tool, for adjusting the level of magnification
The zoom tool, for adjusting the level of magnification
![]() The window and level adjustment tool
The window and level adjustment tool
![]() The stack tool, for scrolling through the current series
The stack tool, for scrolling through the current series
![]() The spine labeling tool, for labeling vertebral bodies on sagittal and coronal images
The spine labeling tool, for labeling vertebral bodies on sagittal and coronal images
![]() The thick slab tool may be used to visualize max/min/average intensity projection across multiple consecutive images in a series.
The thick slab tool may be used to visualize max/min/average intensity projection across multiple consecutive images in a series.
![]() The MPR tool can be used to perform multiplanar reformats.
The MPR tool can be used to perform multiplanar reformats.
![]() ROI tools, for elliptical and rectangular ROIs. (The Elliptical icon is shown)
ROI tools, for elliptical and rectangular ROIs. (The Elliptical icon is shown)
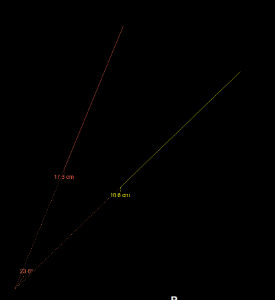
![]() The ruler, for spatial measurements
The ruler, for spatial measurements
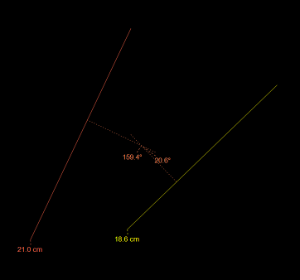
![]() Protractor tool, to measure angles.
Protractor tool, to measure angles.
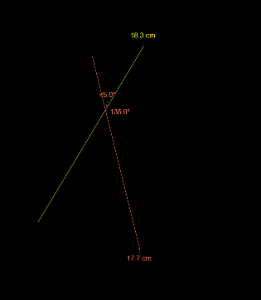
![]() The angle tool, to display Cobb angles that occur at the intersection of lines drawn with the ruler tool
The angle tool, to display Cobb angles that occur at the intersection of lines drawn with the ruler tool


 The measurement grid tool overlays a measurement grid over the image tile
 The Mag/Measure tool creates a 4-panel magnification grid that allows for quick and precise measurements at various zoom levels
![]() The link tool, to scroll related series simultaneously
The link tool, to scroll related series simultaneously
![]() The unlink too, to break a previously established link
The unlink too, to break a previously established link
![]() The spatial locator tool, to display the location of a point in space, selected on one series, on other simultaneously displayed series
The spatial locator tool, to display the location of a point in space, selected on one series, on other simultaneously displayed series
The OnePacs Diagnostic Workstation offers the following tools to integrate your work within the Workstation with the OnePacs worklist.
![]() The view report tool is used to display the diagnostic report, if available, for the currently open study.
The view report tool is used to display the diagnostic report, if available, for the currently open study.
![]() The write report tool is used to open the reporting window for the currently open study.
The write report tool is used to open the reporting window for the currently open study.
![]() The clipboard is used to select a series of images or multiframe images for export as JPEG or AVI, or for designation as key images. To view the clipboard contents, use the clipboard tool.
The clipboard is used to select a series of images or multiframe images for export as JPEG or AVI, or for designation as key images. To view the clipboard contents, use the clipboard tool.
![]() To add images to the clipboard, right-click on the image you wish to add and select “Copy image to clipboard”, or use the copy to clipboard tool.
To add images to the clipboard, right-click on the image you wish to add and select “Copy image to clipboard”, or use the copy to clipboard tool.
 To create key images allowing them to be made available within the report as designated in the facility Report Template configuration. Once created, use the save key images icon.
![]() The save all contents of the clipboard as key images (key objects) for the studies from which the images derive, use the save key image tool.
The save all contents of the clipboard as key images (key objects) for the studies from which the images derive, use the save key image tool.
Key images can be viewed in reports for which key object placeholders have been inserted into the report template, or they can be viewed in the study preview feature on the worklist.
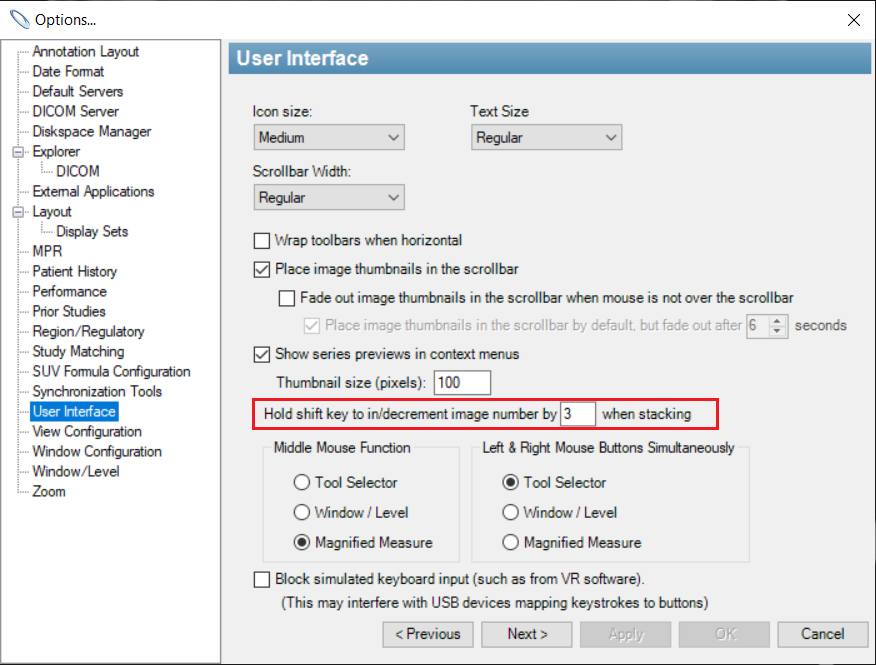
The speed of stacking may be increased by holding down the "shift" key while using the stacking tool. This will increment/decrement the current image number by a greater increment than 1. A "fast forward" or "rewind" will appear on the screen in the upper right when this feature is in use. The number of images by which to increment or decrement the view can be adjusted in the "User interface" section of "Options..."
