...
To issue QA feedback, first, request appropriate authorization from your local OnePacs administrator. They can enable your account to issue QA feedback.
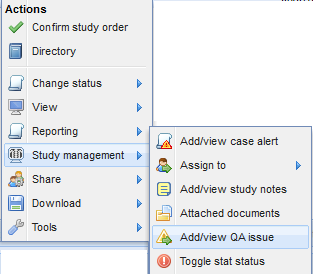
When permission to issue QA feedback has been enabled, find the study in question on the OnePacs worklist, and right-click on the case in question to reveal the context menu. Select “Add/View QA Issue…” from the menu.
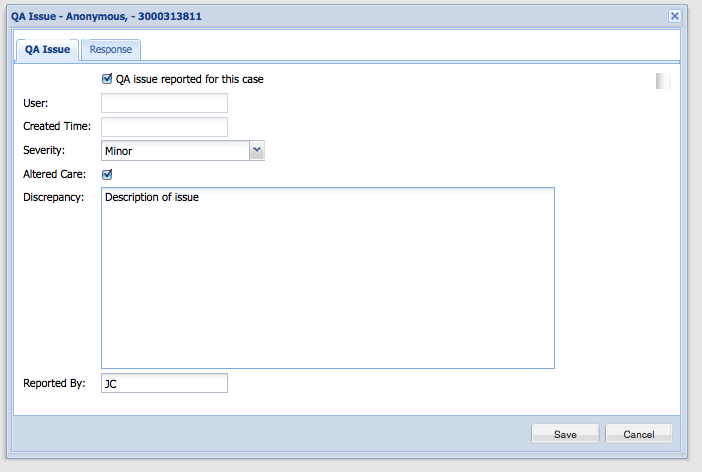
This will bring up the standard QA information window for the case, into which both QA feedback may be issued, and into which the response of the interpreting radiologist or group may also be entered. The fields “User” and “Created time” will be automatically filled in with the user name of the account which was used to enter the QA issue, and the time when it was issued. The “Severity” popup menu offers options ranging from “Information only” through “Severe”. A checkbox may be used to indicate whether the issue altered patient care. There is a text field into which a description of the issue may be entered. If the data entry is being performed by an assistant or other third party, rather than by the individual who is actually issuing the feedback, the optional field “Reported by” may be filled in with the name of the individual responsible for offering the feedback or posting the issue.
Responding to QA feedback
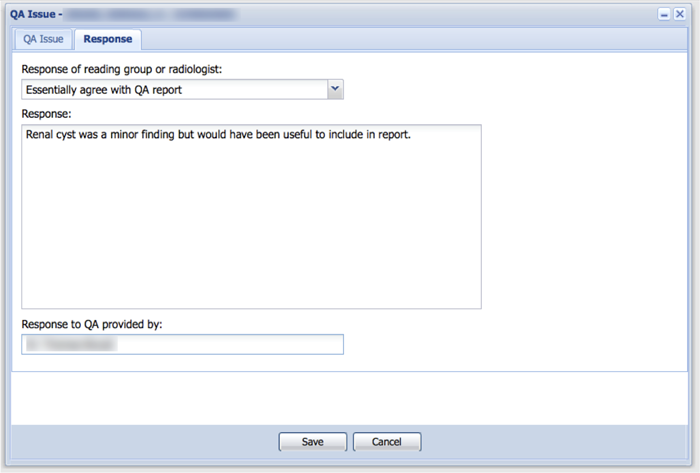
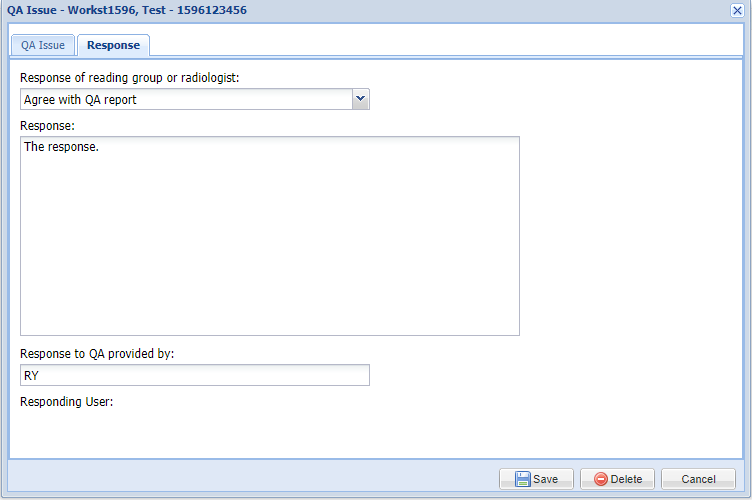
When the issue is entered, an email will be sent to the individual or individual(s) designated by the OnePacs administrators as being responsible for managing QA feedback. The email contains a link which enables such individual(s) to review the QA information, and, after investigation, post the results of their investigation as a QA issue response. The QA response screen looks as follows:
Reviewing QA information
...