| Tip | ||
|---|---|---|
| ||
The OnePacs Web Viewer is a full featured and high-performance DICOM study viewer for modern web browsers that is integrated with the OnePacs system. It is intended to be used for interactive display and manipulation of medical images. The Web Viewer is designed and optimized for use with the Chrome web browser. Use with other browsers may result in degraded performance. OnePacs recommends the use of Chrome with the Web Viewer. |
System Requirements
- Browser: Chrome or Firefox recommended (Edge, Safari, Internet Explorer IE 11 supported)
- CPU: At least a modern 2 core processor
- Memory: At least 4 GB RAM.
Other Requirements
- For diagnostic image viewing, appropriate diagnostic-quality and regulation-compliant monitors should be used. For accuracy, it is recommended that screen configurations are periodically checked on all monitors where OnePacs Web Viewer is being used.
- All users should read/understand OnePacs Web Viewer User's Manual and take proper training prior to using OnePacs Web Viewer.
Using the OnePacs Web Viewer
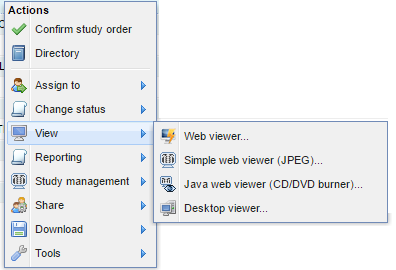
The OnePacs Web Viewer can be set to your default viewer under your user preferences. If you prefer some other viewer as a default, then the OnePacs web viewer may still be used. It can be accessed from the worklist context menu by right clicking on a study or from the worklist bottom toolbar "View" button by selecting the "Web Viewer" option.
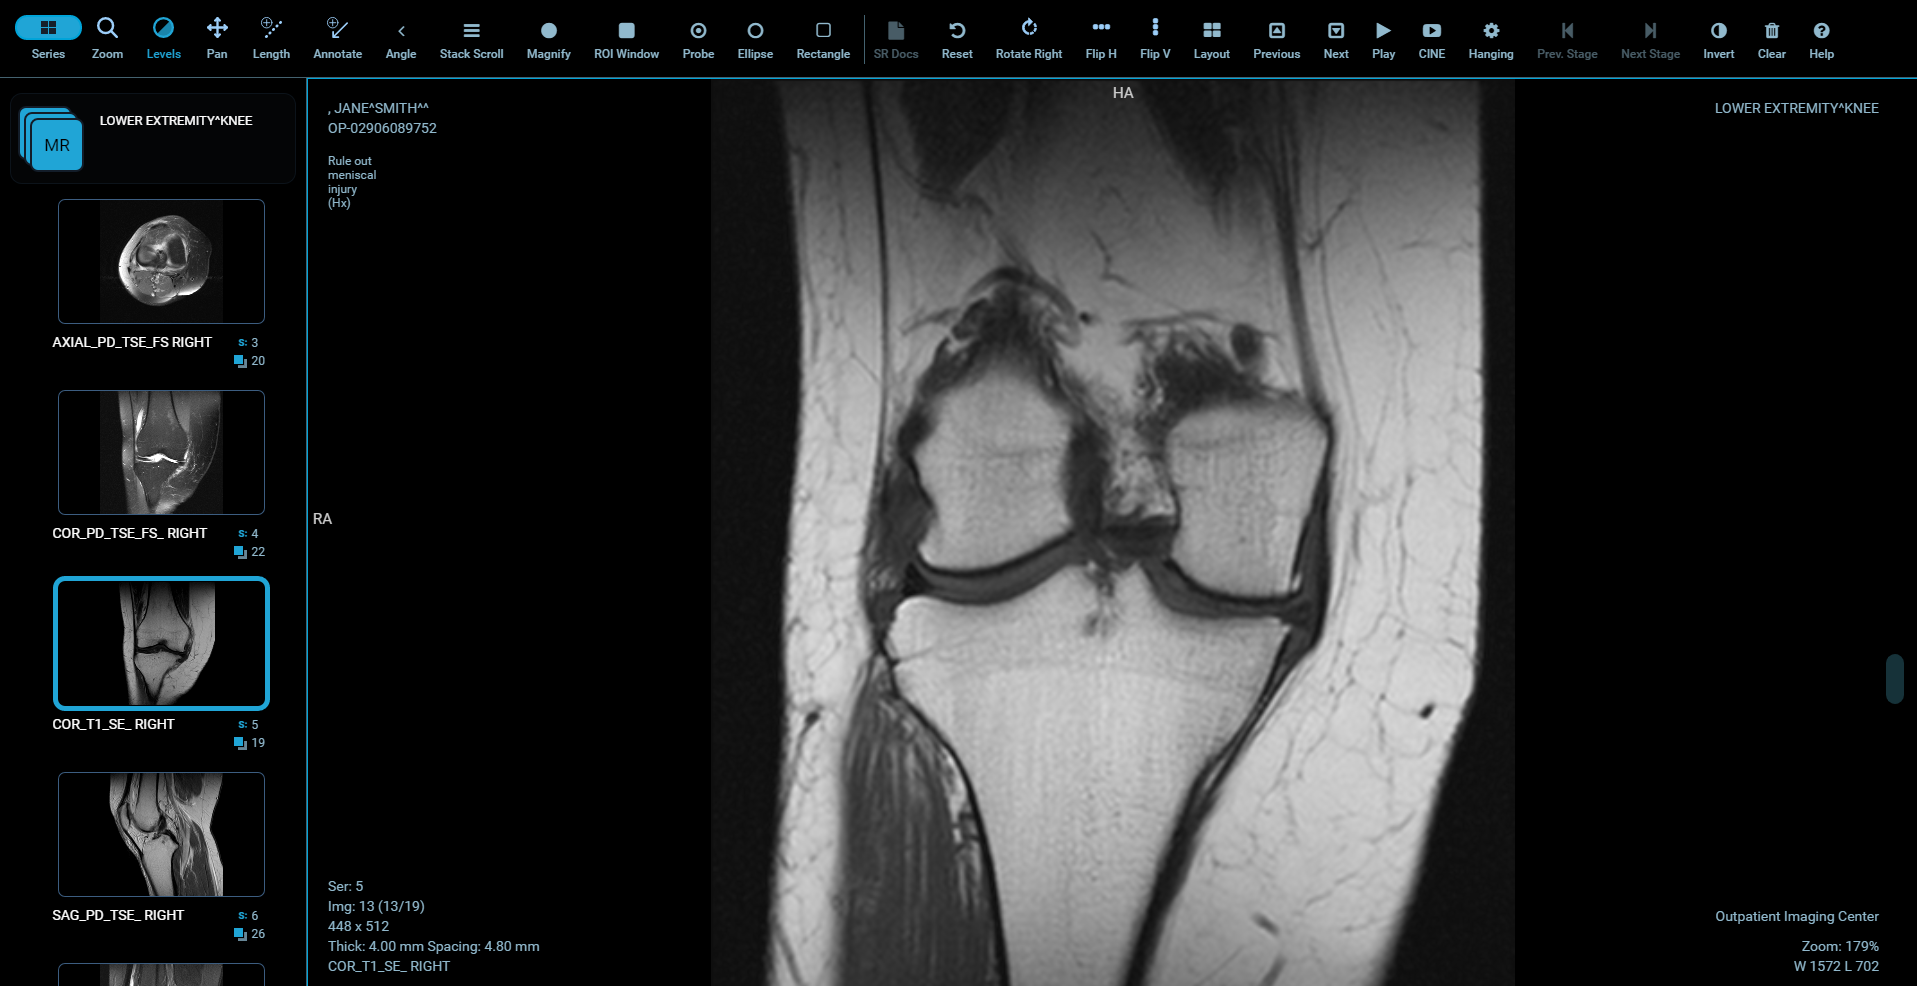
Clicking to view a case will open the OnePacs Web viewer in a new browser window. There is a toolbar that spans the top of the window. Depending on screen resolution, some imaging tools may be collapsed under a "More..." button on the top right. A series panel shows on the left that shows a thumbnail of a series image, the series number, and the total number of images in the series. The "Series" button on the top left can be used to toggle whether or not the series thumbnails are displayed on the left. In the center, images are shown in a selected layout with some additional overlay information.
Image Navigation
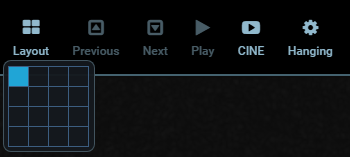
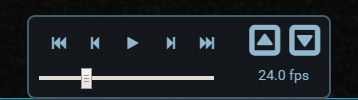
Images can be stacked/scrolled when the "Stacked Scroll" button is selected by left clicking and dragging the mouse up or down. If you are using a wheel mouse, the wheel function will also scroll the images. Image navigation can also be done by using the "Previous" or "Next" buttons. There is also a blue scrollbar on the right side that can be dragged to scroll the images. The "Cine" button combined with the "Play" and "Stop" button will loop through the images of the active image tile. The OnePacs Web Viewer can display sets of images in various image tile layouts using the "Layout" button. Click on the "layout" button and select the number of image tiles that is desired. The series thumbnails in the series panel on the left will show a highlight border around the series that are visible in the tiles. Other series can be loaded into the image tile by dragging the series thumbnail to the image tile. Clicking on a series in the series preview will also load it into the active image tile.
Layout and Image scrolling buttons
"Cine" controls to increase or decrease the frame rate.
Layout changed to showing 4 series tiles. Scrolling shows reference lines in other tiles.
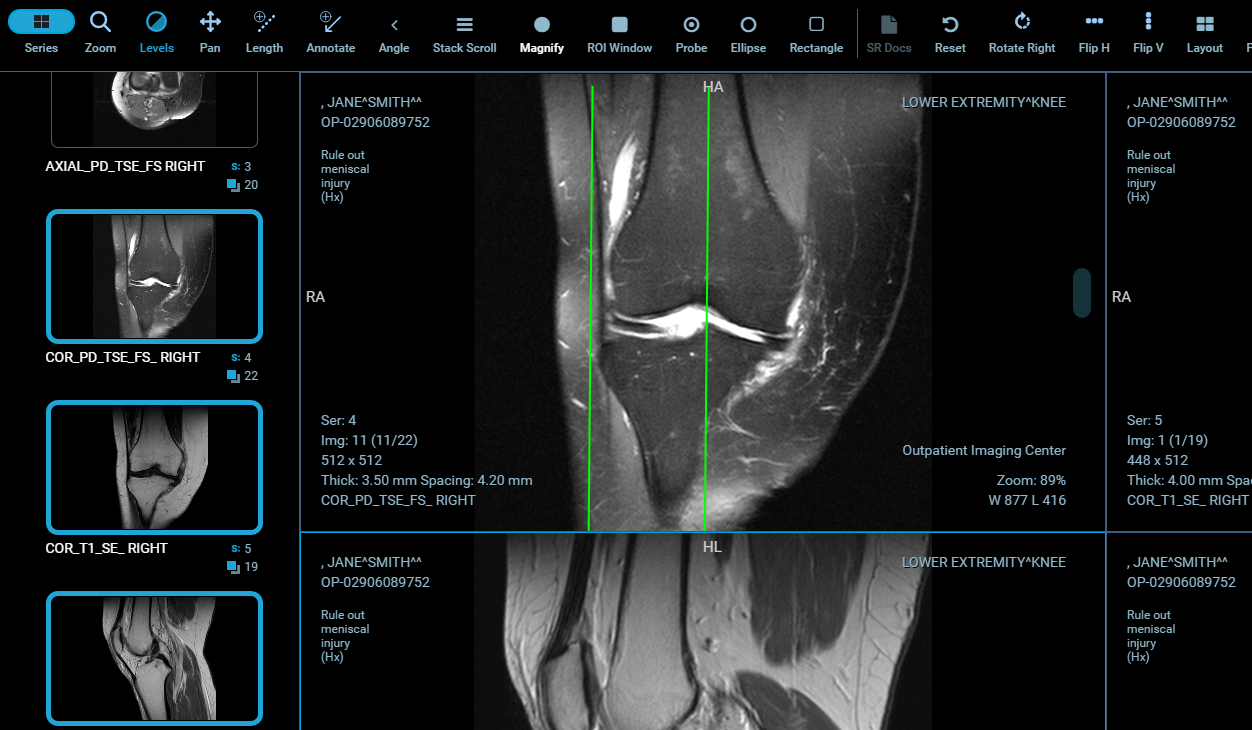
Image Manipulation
On the left of the toolbar users can zoom, window and level and pan. Left click on the image and drag the mouse to use the tool.

Near the middle of the toolbar users can reset, rotate, and flip images horizontally or vertically.

The invert button can be used to invert the color palette of the image.

Measuring and Annotations
In the middle of the toolbar are measurement features. Users can measure length and angles, annotate images, and select various region of interest tools. Region of interest will show area, mean, and standard deviation calculations. Probe will show various pixel measurements (xy, SP, MO, etc). The "Clear" button can be used to remove all annotations.

Hanging Protocols and Stages

Users may create a hanging protocols to define how a study and the priors should be displayed. Constraints can be added to control what hanging protocols are applicable to what studies. Each hanging protocol can define several stages to incorporate a preferred layout. Stages can be quickly changed using the "Prev. Stage" and "Next Stage" buttons.